

How to make a Unsalted Sea Pottery Garden Charm
Congratulations on your new Nature & Clay Kit from Unsalted Sea Pottery! Follow these simple steps to create your garden Charm. Whether you're a seasoned potter or looking for a little extra guidance, we've got you covered.
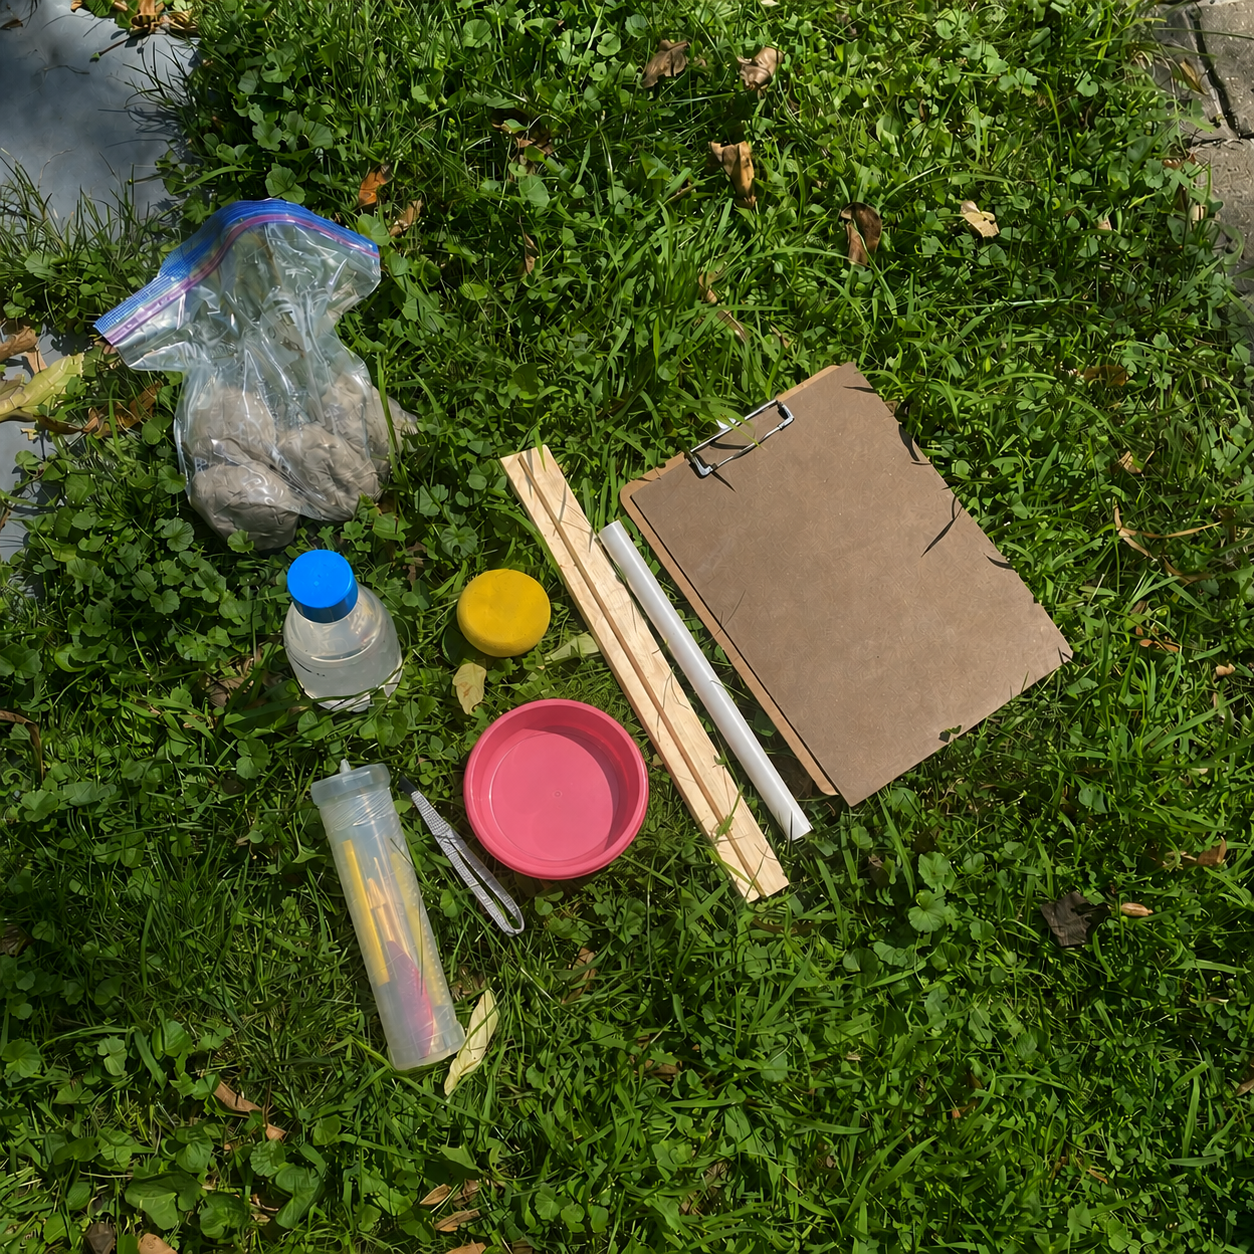
Materials
- Clay
- Clipboard
- Foam
- Rib tool
- Tweezers
- Foam sheets:
- Straw and skewer/stick
- Carrying case (to keep clay moist and protected)
- Texture tools
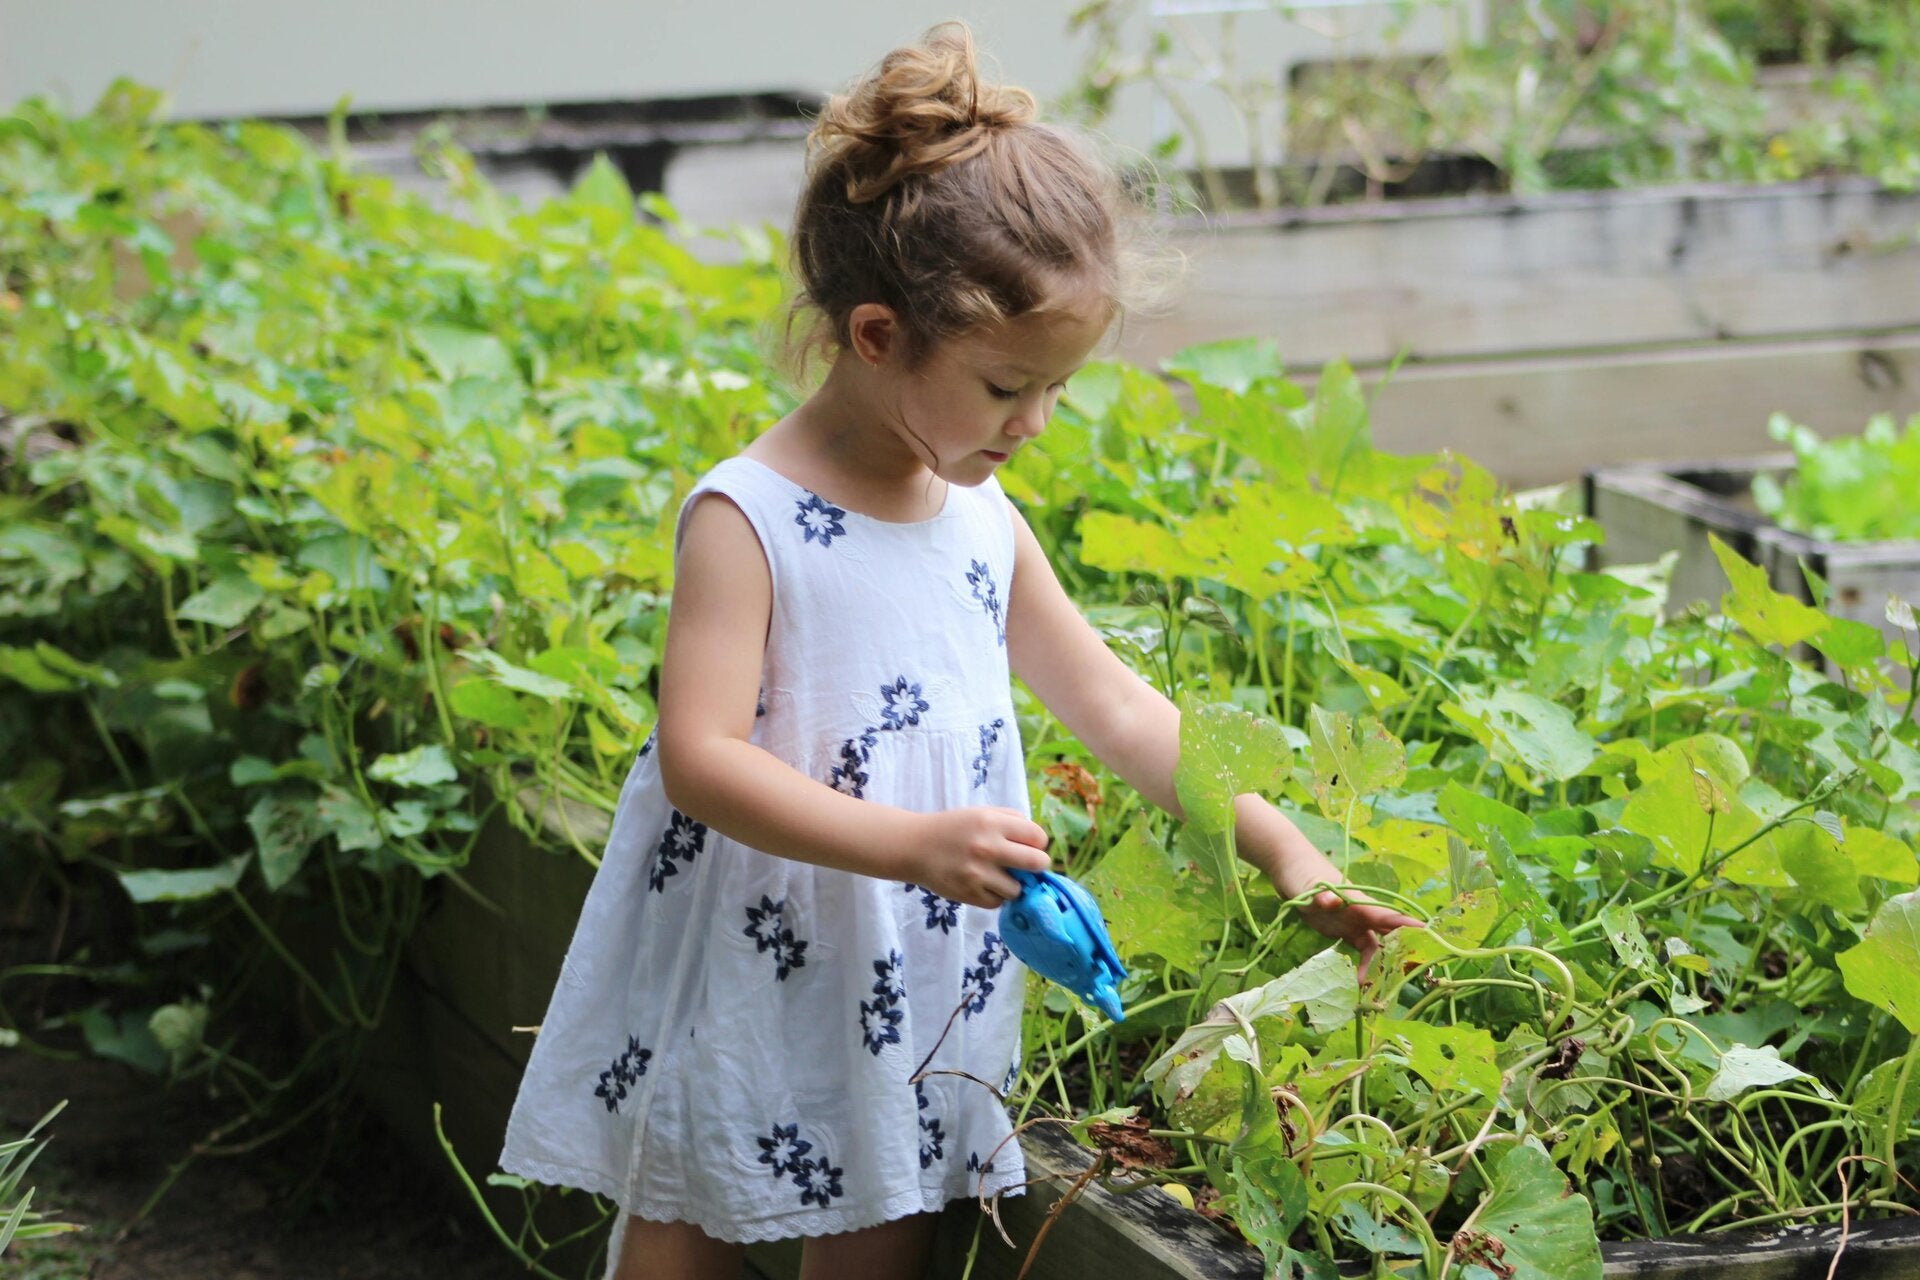
Gather Natural Items
- Look for objects that will leave deep impressions:
- Leaves, grasses, small pieces of ground cover
- Driftwood or a branch
- Tip: Use your carrying case while collecting items
(Please remember it is illegal to pick wild flowers in State Parks and National Parks or Lands)
MAKING YOUR CHARMS:
- Find a flat, solid surface.
- Clip the foam sheet 9” x 12” to your clipboard. (Clay will not stick to the foam sheet.)
- Wedge (knead) clay ball to remove air bubbles, if necessary.
- Decide how many clay charms you would like to have in your Garden Charm, and divide your clay into separate pieces for each charm.
SHAPING YOUR CHARMS:
- Form your clay into the desired shape for your charms, smooth edge and keep the size no bigger than your Thumb.
- Add Texture & Design with natural materials or the tools in your kit.
- Be careful not to distort the overall shape of your charm
- Tip: Let the clay sit for about 30 minutes until it reaches a leather-hard stage (slightly firm). This helps it hold its shape while adding texture. Also, keep your charm around 1/4" thick, in all areas to avoid cracks while drying and firing


Add Holes
- Use the straw to punch holes straight through the piece.
- Clear clay from the straw using the wooden skewer before making the next hole.

Prepare for Storage
- Place your finished charms into the container from your kit
- Use small foam pieces to separate each charm
- Add more foam for filler to keep everything secure in the provided packing case
- Important: Make sure charms don’t move around—this prevents damage during transport.
Return Kit
- Return everything to Unsalted Sea Pottery.
- Complete all required forms so your finished tiles can be returned after firing.
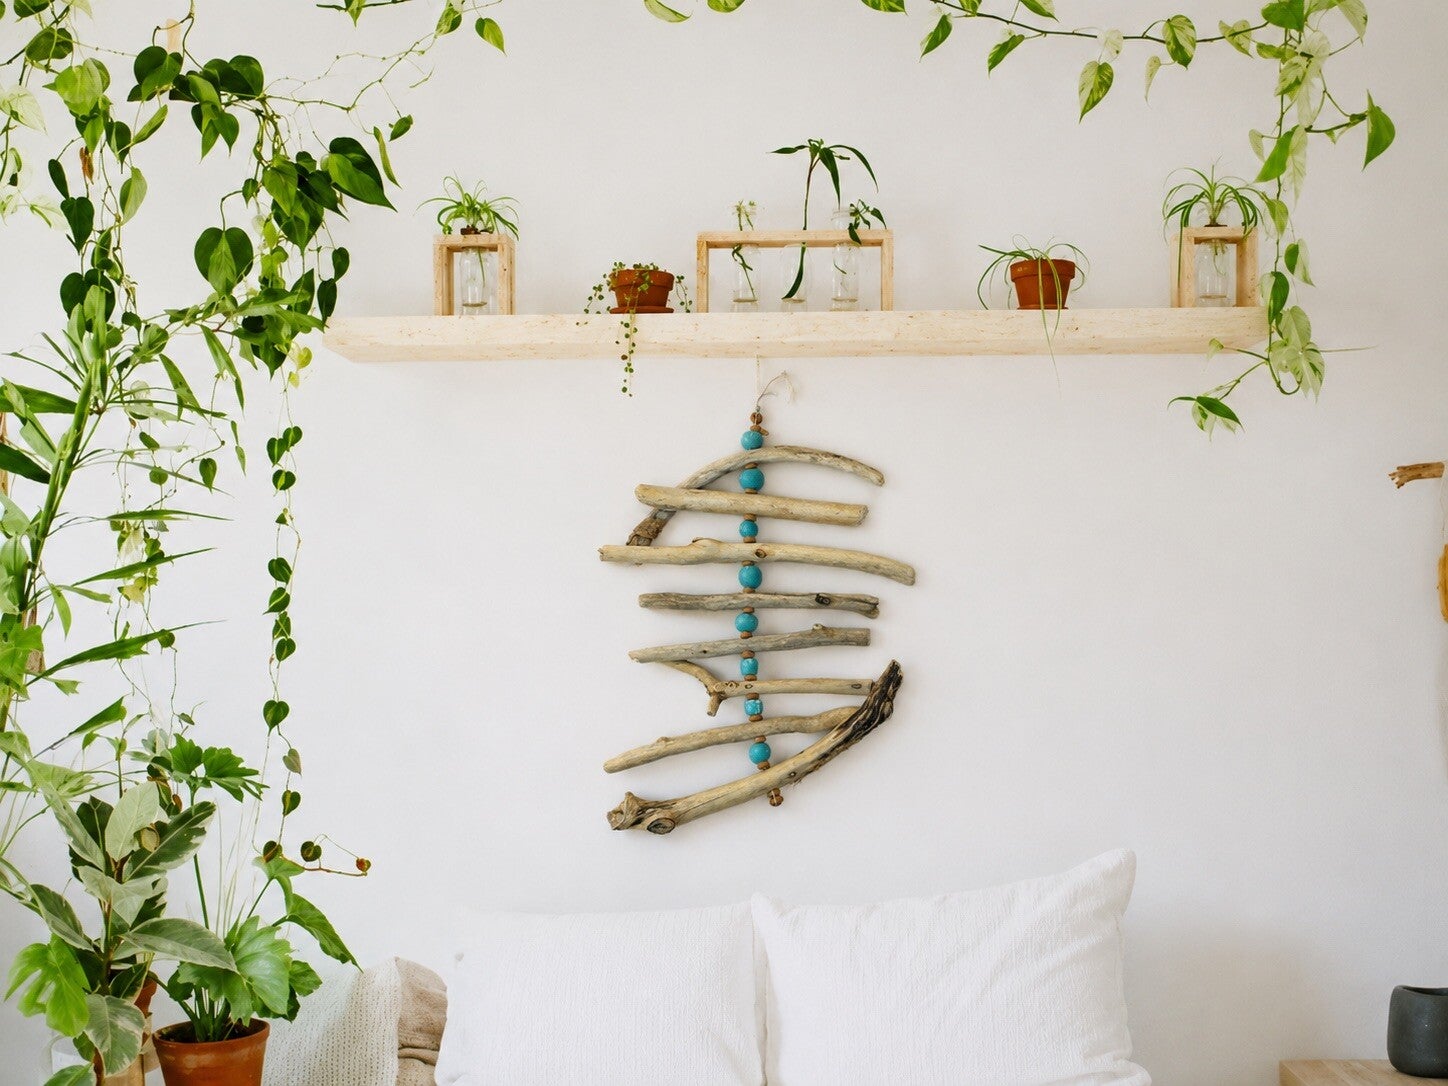
After Firing
- Paint with acrylic or watercolor paints.
- Seal with a protective finish (such as polyurethane).
- Hang your Garden Charm inside or out and enjoy!
Tips and Tricks

Wedging Clay
Wedging Clay is somewhat like kneading dough. Place your hands on the clay as shown in the picture. Push forward As you are turning the clay under your hands.

Leather Hard
Leather-hard is a stage in the drying process of clay where it has lost most of its moisture and is stiff enough to hold its shape.

Making Slip
Slip Is making paste with clay and water, by adding small amounts of water to clay and mixing together.

Scoring & slip Clay
When attaching two pieces of clay together, you must score and slip both pieces. Scoring means making marks and roughing up the clay surface. Then, apply slip to the scored areas to act as a glue and securely bond the pieces together.