
How to make a Unsalted Sea Pottery Jewelry Dish
Congratulations on your new Nature & clay kit from Unsalted Sea Pottery! Follow these simple steps to create your Jewelry dish. Whether you're a seasoned potter or looking for a little extra guidance, we've got you covered.
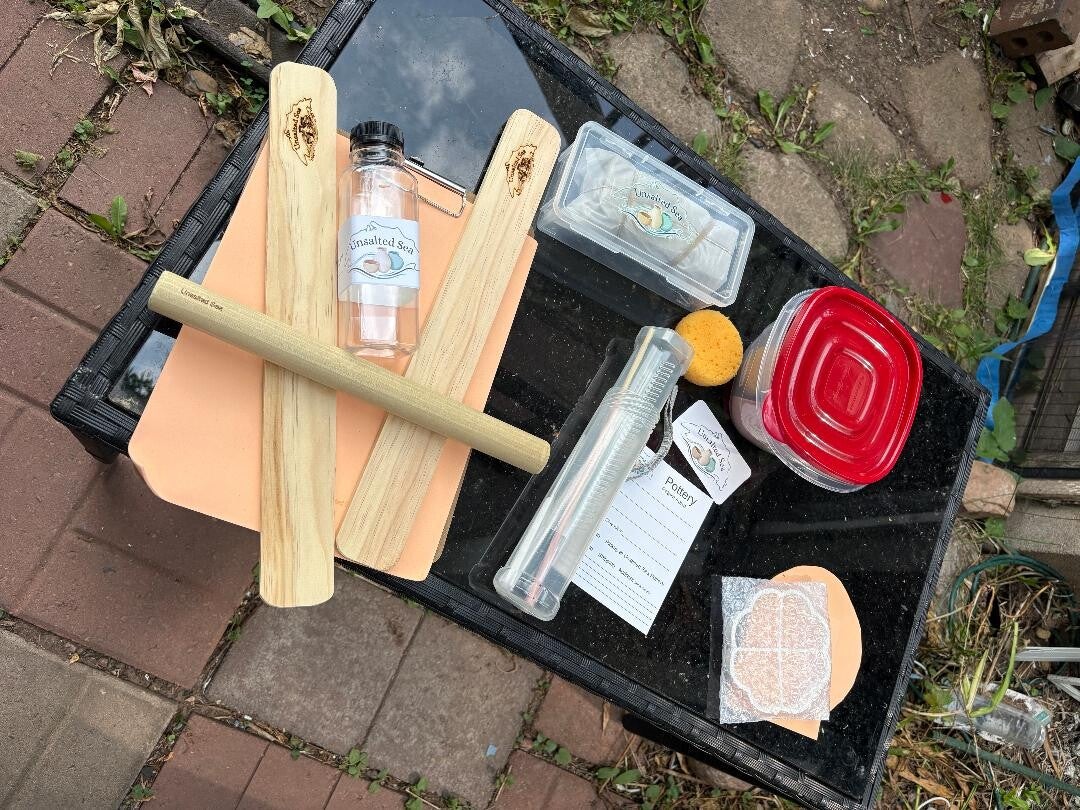
Materials
- Clay
- Clipboard
- Rolling pin
- 2 guide sticks (¼")
- Rib tool
- Tweezers
- Knife
- Foam sheets
- Straw and skewer/wooden stick
- Carrying case (to keep clay moist and protected)
- Texture tools

Gather Natural Items
- Look for objects that will leave deep impressions:
- Leaves, grasses, small pieces of ground cover
- Any small, interesting textured objects
- Tip: Use your carrying case while collecting item
(Please remember it is illegal to pick wild flowers in State Parks and National Parks or Lands)
Create Your Dish
- Prepare your workspace. Use a flat, solid surface.
- Clip the 9" × 12" foam sheet to your clipboard (prevents sticking).
- Wedge the clay to remove air bubbles.
- Flatten the clay into a rough 4" × 3" rectangle with your hands.
- Place clay between the guide sticks on the foam-covered board.
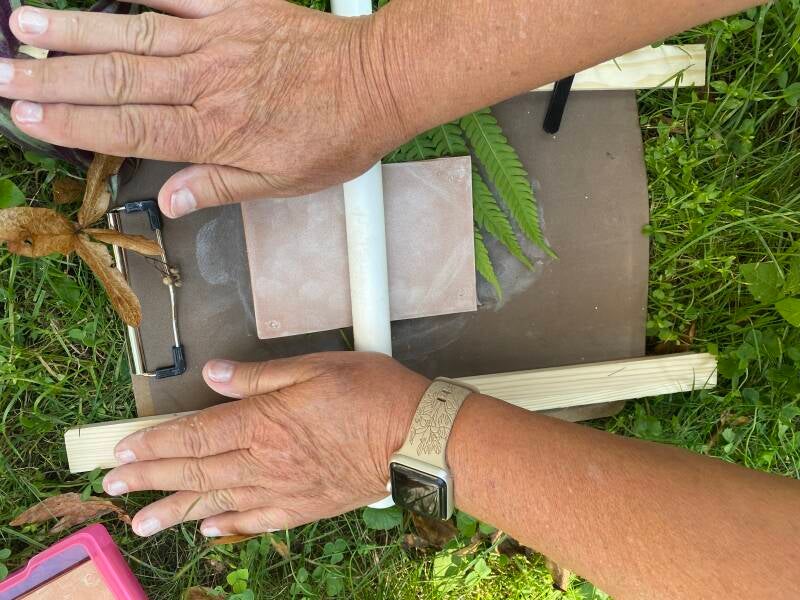
- Roll evenly until large enough for one of the form templates.
- Place the form template of your choice on your clay, and cut it out.
- Leave to dry for 20 minutes to 1 hour, until it feels leather - hard and will hold its shape.


Design Your Dish
- Arrange natural materials on the clay surface.
- Place the foam template over the material and clay (creating a sandwich).
- Gently roll over the top to press textures into the clay.
- Roll again if needed for deeper impressions.
- Add designs, words, dates, or location using a pointed tool.
- Carefully remove objects
- Use tweezers if needed.
- If necessary, leave small debris—it will burn off in the kiln


Shaping your Dish
- Gently lift and shape the sides
- Clay should hold its form at the leather-hard stage
- If needed, support edges with objects. Use foam pieces between object and clay to prevent sticking.

Prepare for Storage
- Place your finished dish into the container from your kit
- Add foam completely around your dish and secure.
- Important: Make sure dish doesn't move around—this prevents damage during transport.
Return Kit
- Return everything to Unsalted Sea Pottery.
- Complete all required forms so your finished dish can be returned after firing.
After Firing
- Paint with acrylic or watercolor paints.
- Seal with a protective finish (such as polyurethane).
- And enjoy!
Tips and Tricks

Wedging Clay
Wedging Clay is somewhat like kneading dough. Place your hands on the clay as shown in the picture. Push forward As you are turning the clay under your hands.

Leather Hard
Leather-hard is a stage in the drying process of clay where it has lost most of its moisture and is stiff enough to hold its shape.

Making Slip
Slip Is making paste with clay and water, by adding small amounts of water to clay and mixing together.

Scoring & slip Clay
When attaching two pieces of clay together, you must score and slip both pieces. Scoring means making marks and roughing up the clay surface. Then, apply slip to the scored areas to act as a glue and securely bond the pieces together.